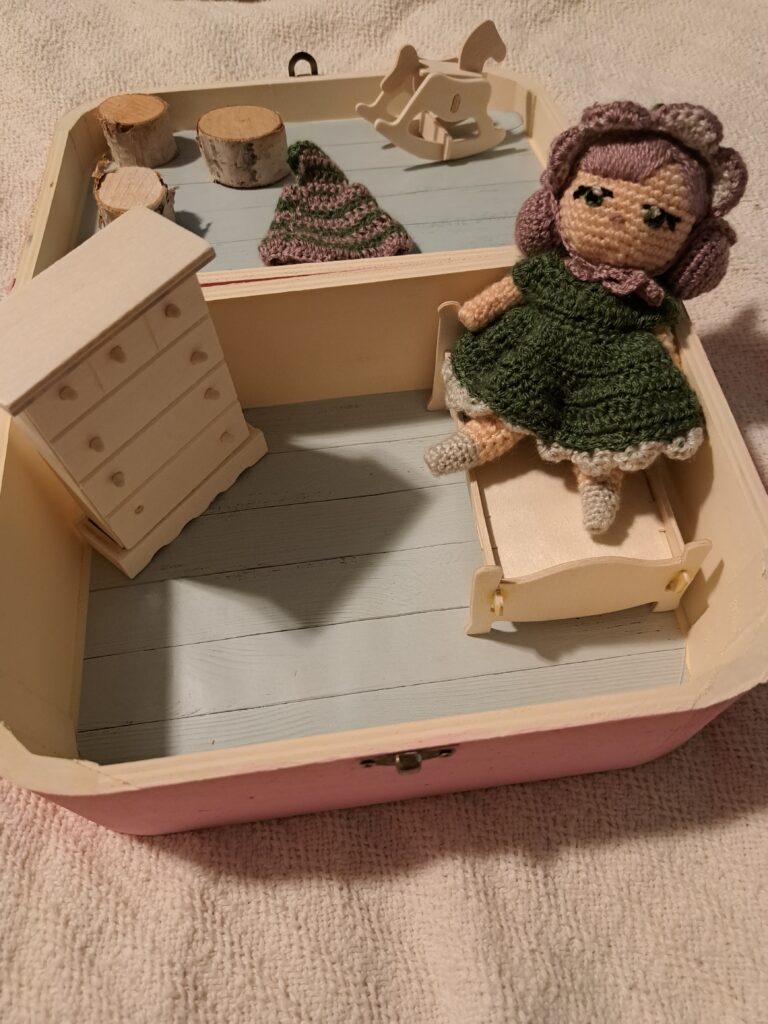
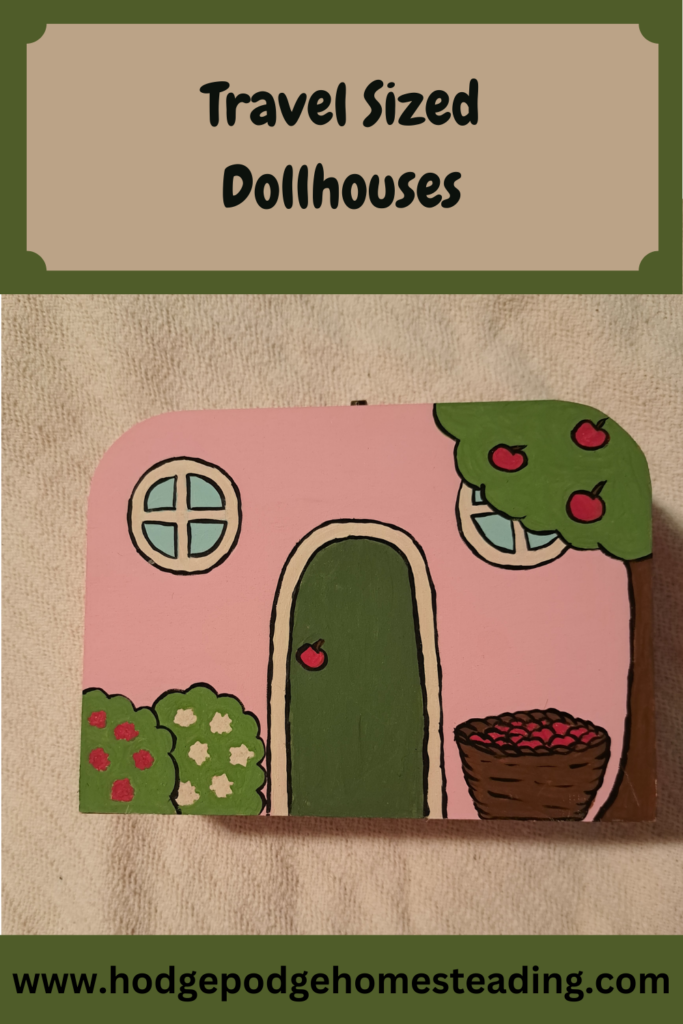
Now that Christmas is over, I can finally start showing you some of what I have been working on! I wanted to add something a little bit fun for the kids to our Christmas baskets, and I wanted it to be something portable since there is a lot of travelling over the holidays. I made a few different variations on these wooden boxes, but for the little girls in the group I made travel sized dollhouses.
I will freely confess that I probably had as much fun making these as the kids will have playing with them. It was the ultimate craft mix. I got to paint, sew, crochet, decorate, and glue. I made up little names and colour schemes and everything.
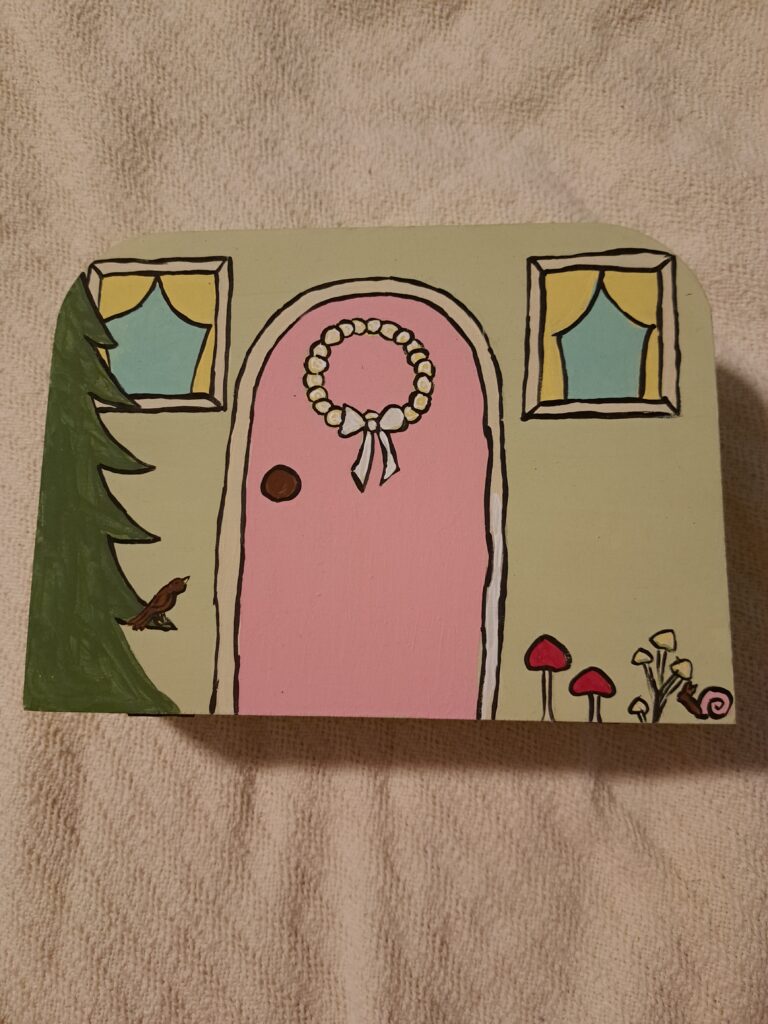
I started out with a stack of plain wooden boxes. These ones with the curved corners just looked so much like little houses to me that I had to choose them! I started by painting the outsides. I just sketched out different shaped doors and such, and painted them in the colour schemes I had picked. (I wanted it to be easy to tell which pieces belonged to which doll house.)
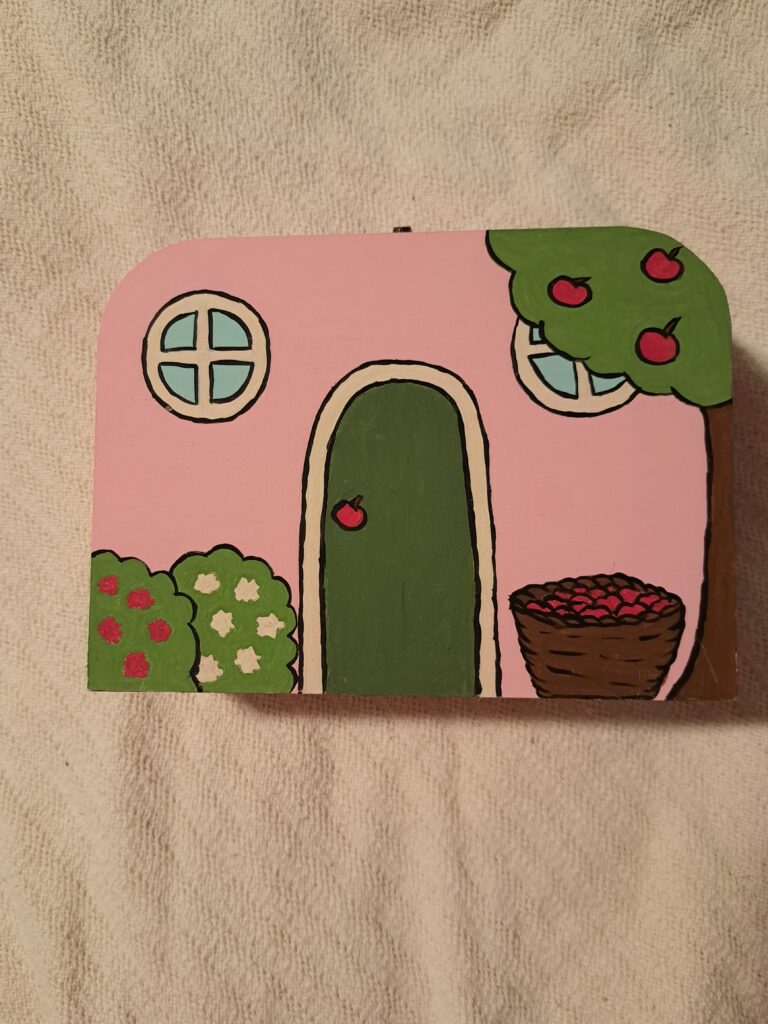
My only real regret with the outsides is that I did the outlining with a thin paintbrush. On later boxes I used a permanent marker and it looked much nicer. So don’t be afraid to mix media! If you are trying this yourself and aren’t much for painting, I would suggest trying scrapbooking paper. You would be surprised at the variety of patterns you can find!

For the furniture I just got lucky at my local dollar store. It’s all real wood and I actually considered staining or painting it, but I ended up liking the look how it was. You could decorate yours any way you wanted though!
For the floors I used some pretty contact paper. I was hoping that it would stick on it’s own once I had painted the inside, but even then it needed a bit of glue.
For the dolls I ended up using the Mori Girl doll by Sweet Softies as a base. (Here is a link to the full pattern, because it is seriously adorable, but you can find the basic doll body for free on her personal website. https://www.lovecrafts.com/en-us/p/mori-girl-doll-crochet-pattern-by-sweet-softies )
I had tried 3-4 different doll patterns that all ended up being much too big, before I went searching her site for something the right size. I just kind of winged it for their clothes. Each doll got a dress, a hat, and a romper.
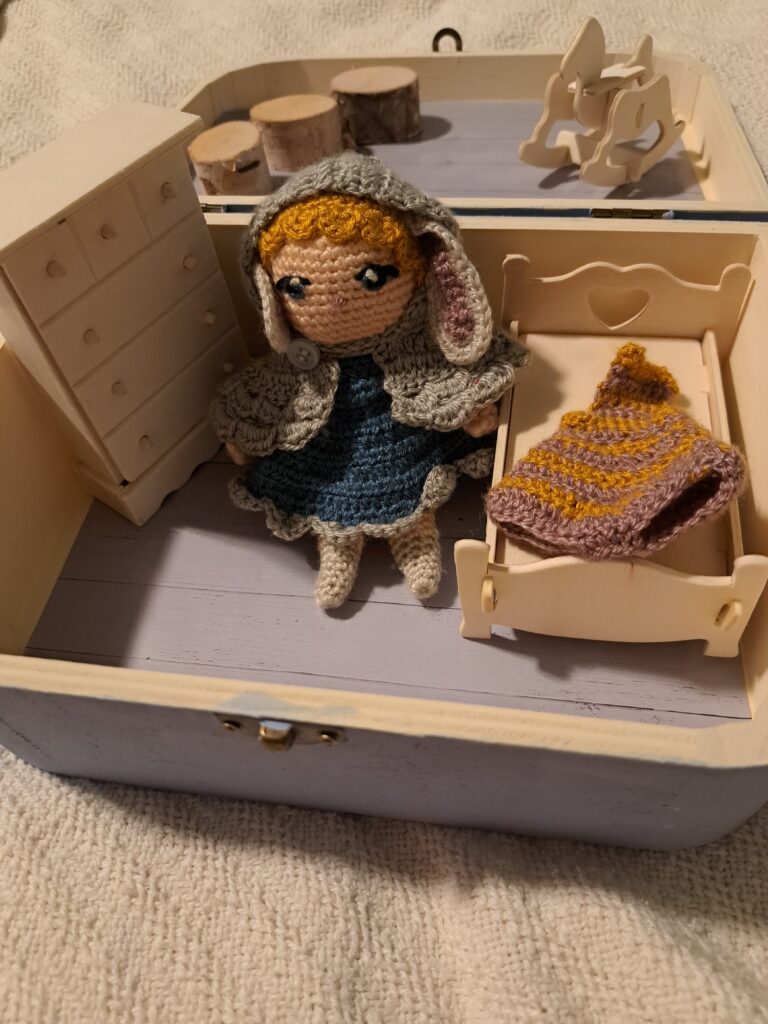
You’ll notice that the door is a little bit taller on this one! I wanted a slightly sturdier doll for a slightly younger recipient. This little one is at an age where they are more likely to want to put everyone to bed than to fiddle with little clothes and play dress up.
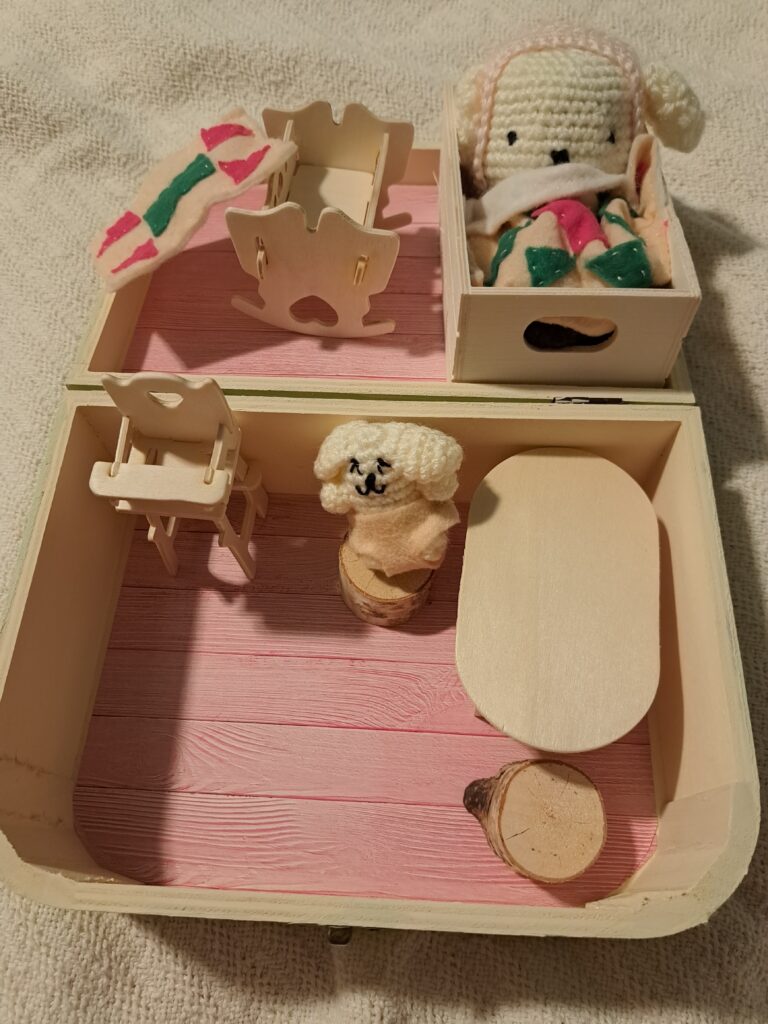
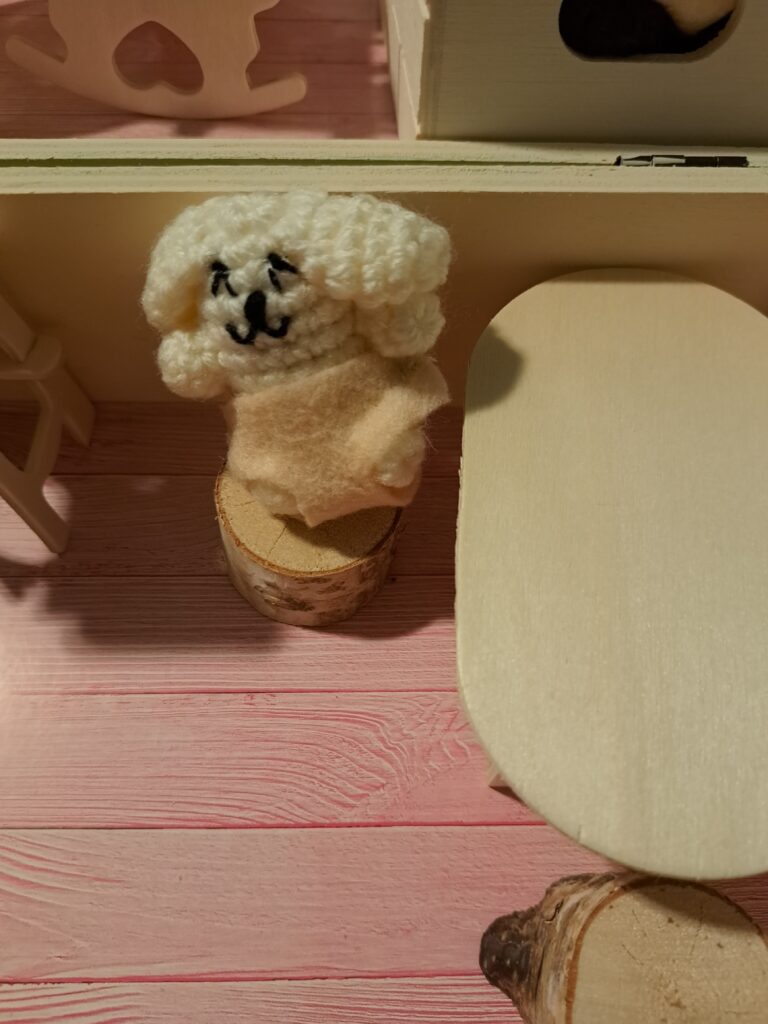
This pattern is why I was already on the Sweet Softies page. I had fallen in love with the Pinewood Puppy. (You can find the pattern here: https://www.sweetsofties.com/2022/02/pinewood-puppy.html )
It just barely fit in the box with the yarn I used! The only change I made to the pattern was to embroider the eyes instead of using plastic ones, something I always do for very young children.
I also made a tiny little puppy baby, to add to the fun. It is basically a sausage with ears and feet, I get a kick out of it’s funny face. I just free handed this one as well. It is a tad big for the highchair, but let’s be honest; half of this stuff will be lost under a couch somewhere with kids involved haha!
If you love the look but don’t crochet, there is nothing stopping you from buying a little doll the right size for your box. Peg people would feel right at home here too! Put your own spin on it and don’t be afraid to have fun. Who says only kids are allowed to enjoy toys?
Want more Hodgepodge Homesteading? Here’s where else you can find us!
On Instagram: @hodgepodgehomesteading
On Facebook: https://www.facebook.com/profile.php?id=100092368241618
On Pinterest: https://www.pinterest.ca/hodgepodgehomesteading/