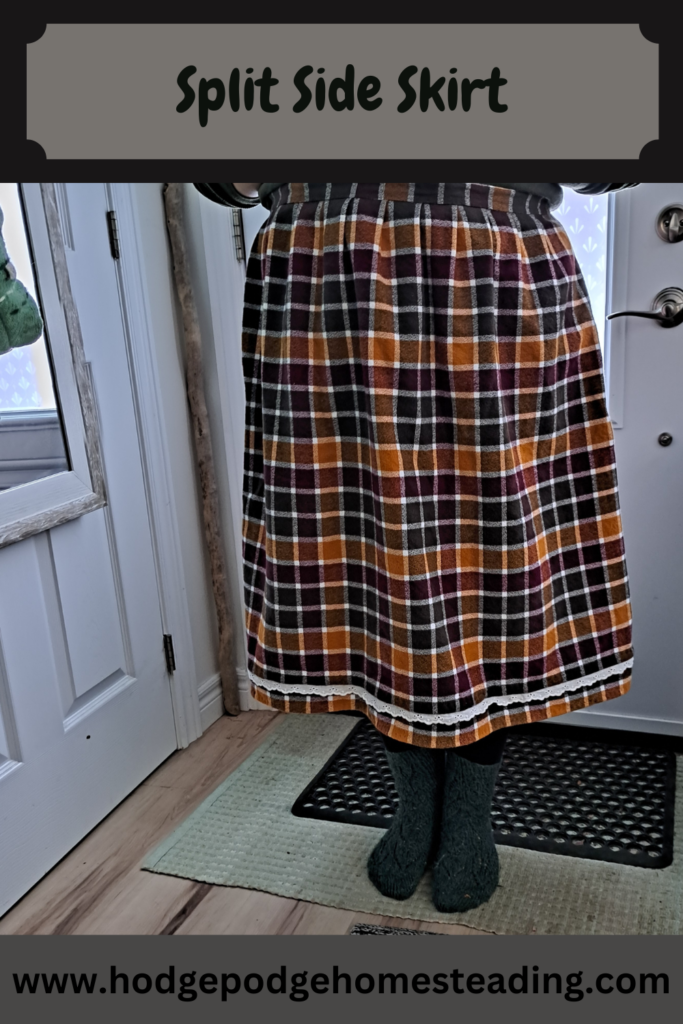
I have been fascinated by the idea of adjustable clothing for a long time. I have had a few harebrained ideas of how to make it work going around my brain for some time. Then the internet magically started showing me split side skirt patterns! Easy to sew, practical enough that they were used for a very long time historically, and very versatile. Clearly this was the place to start.
I am sure that most people have seen the lovely lace up versions that have been making the rounds. (Such as the Coquelicot Skirt Pattern https://www.wildflowerdesignpatterns.com/product-page/coquelicot-skirt)
I chose to start simpler. I found this tutorial for an 18th century petticoat style split skirt to be very clear and easy to customize. (https://www.youtube.com/watch?v=6xHOnS4fK2c&ab_channel=AshLG)
I chose this type to start with for a few reasons. The first was that it is very simple. It wouldn’t take me a huge amount of work to get proof of concept.
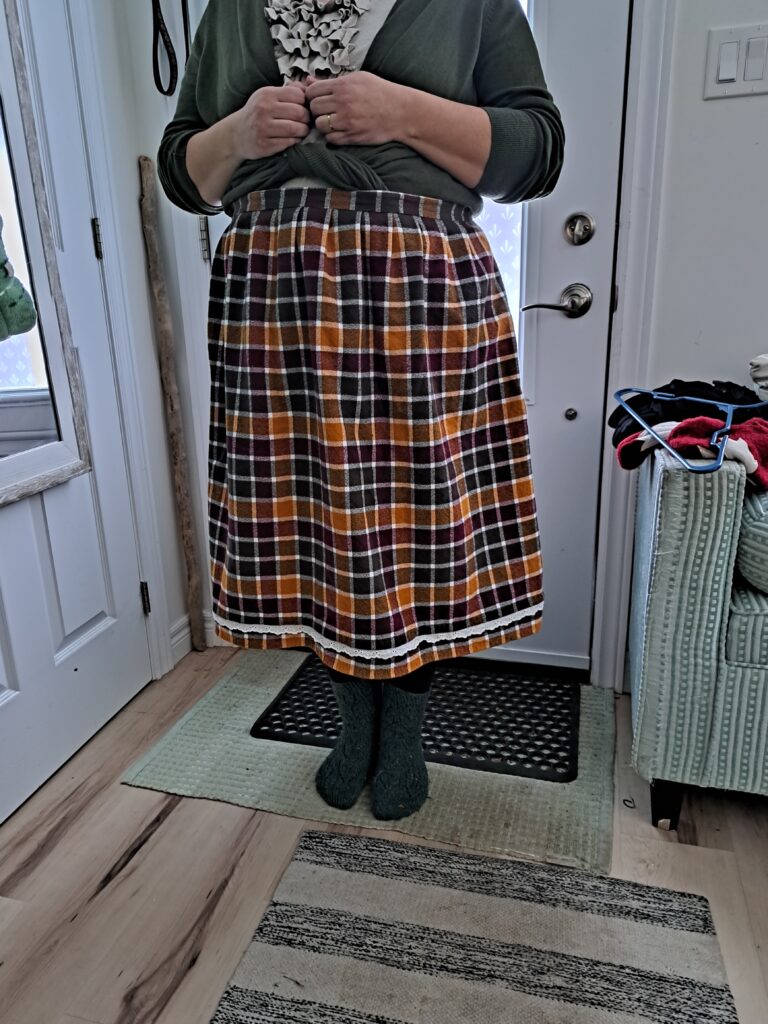
The second was that, because of the type of skirts I like to wear (higher waisted, with a bit of volume), most of the cons of this style aren’t a problem for me. The overlap at the sides is disguised by the gathers at the waist, as is the small bow under the front of the skirt.
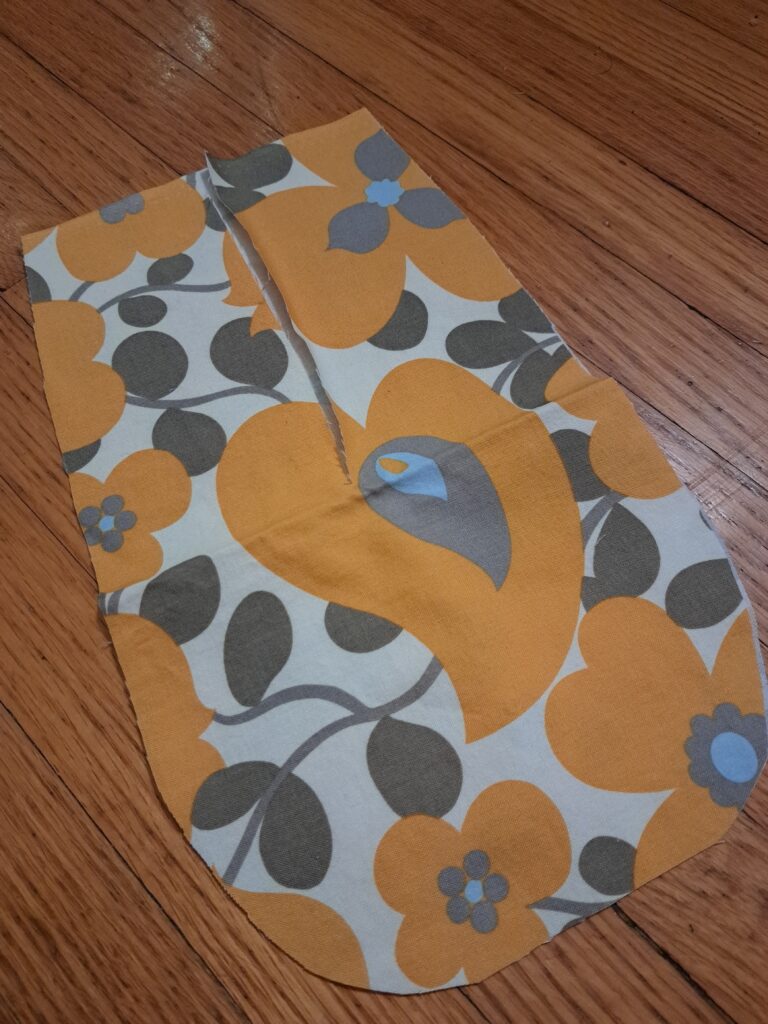
The third is of course pockets. Not only does this skirt offer places for multiple types of pockets, nice big inner seam pockets are practically a requirement for coverage under the split.
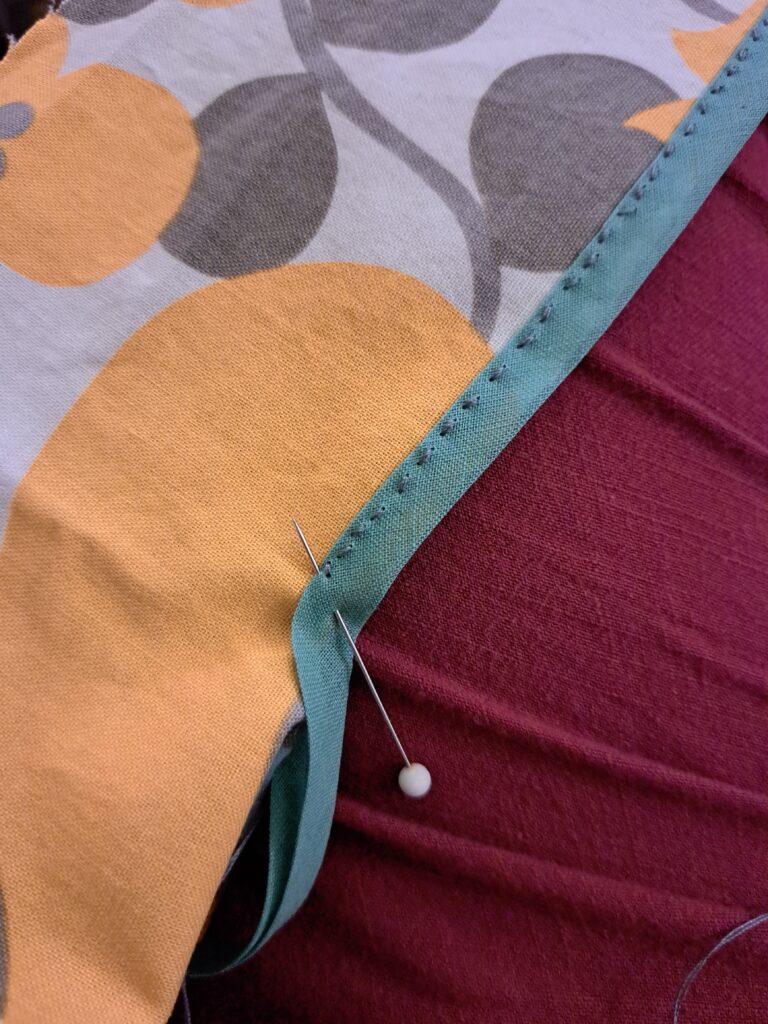
I sewed this up pretty much like the tutorial. The only noteworthy things are that I used cotton twill tape for the tie that would be under the front layer of my skirt. This is a nice sturdy option and it is thin enough to be barely visible.
Also noteworthy, how cool are these pockets??? I had so much fun making them.
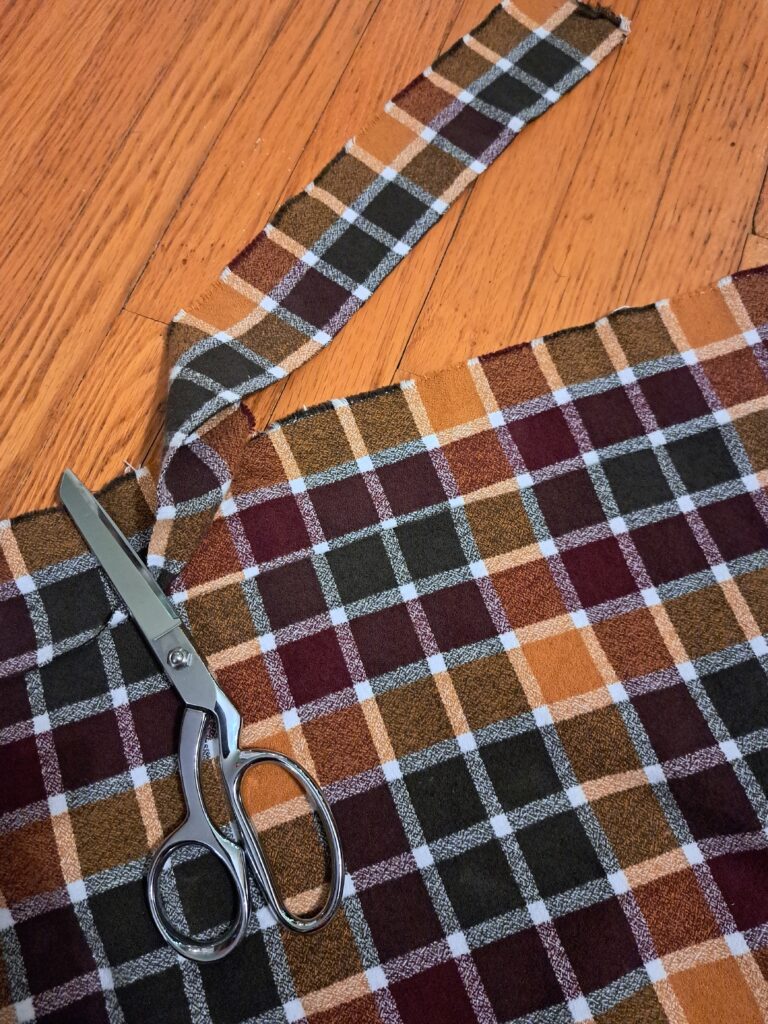
Finally my last favorite thing is that this skirt is practically zero waste. I made it the width of the fabric whenever possible. The only bits I didn’t use were two small squares where I cut the waistband pieces to length. I will save those for if I end up needing to patch or mend the skirt at some point, so I actually like that there was a tiny bit left over.

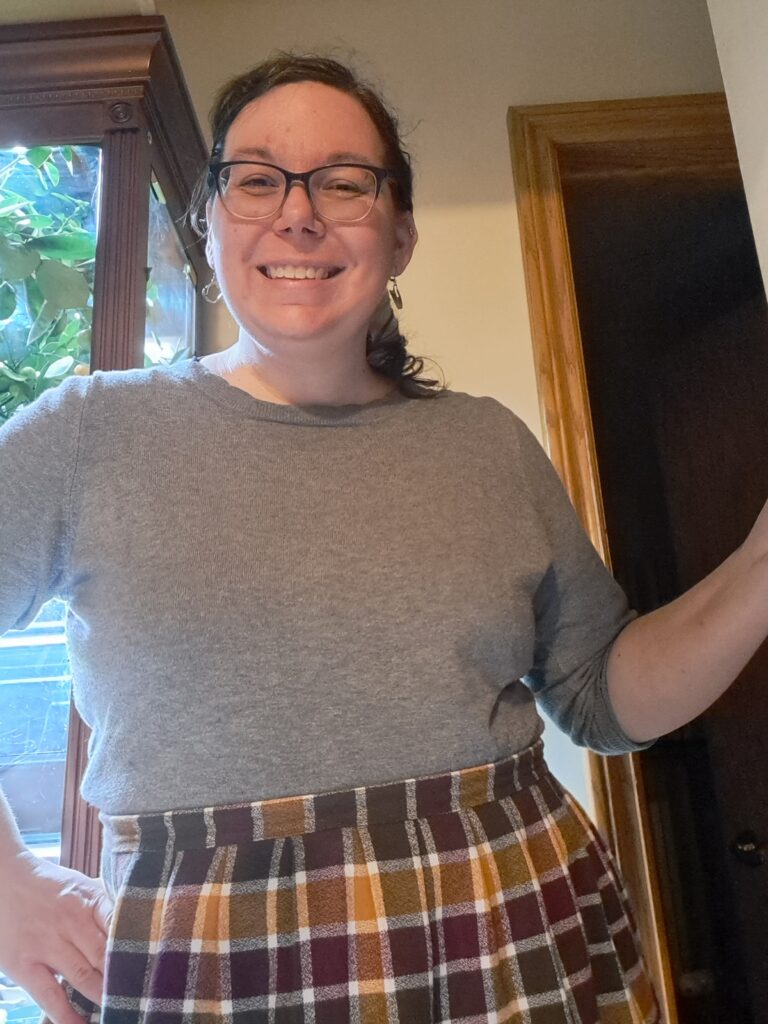
Wearing it has been really easy and comfortable. I think the busier print helps distract from the side splits. I am incredibly pleased with how this came out and definitely have plans to make more!
Now, a quick visual of how to put this thing on:
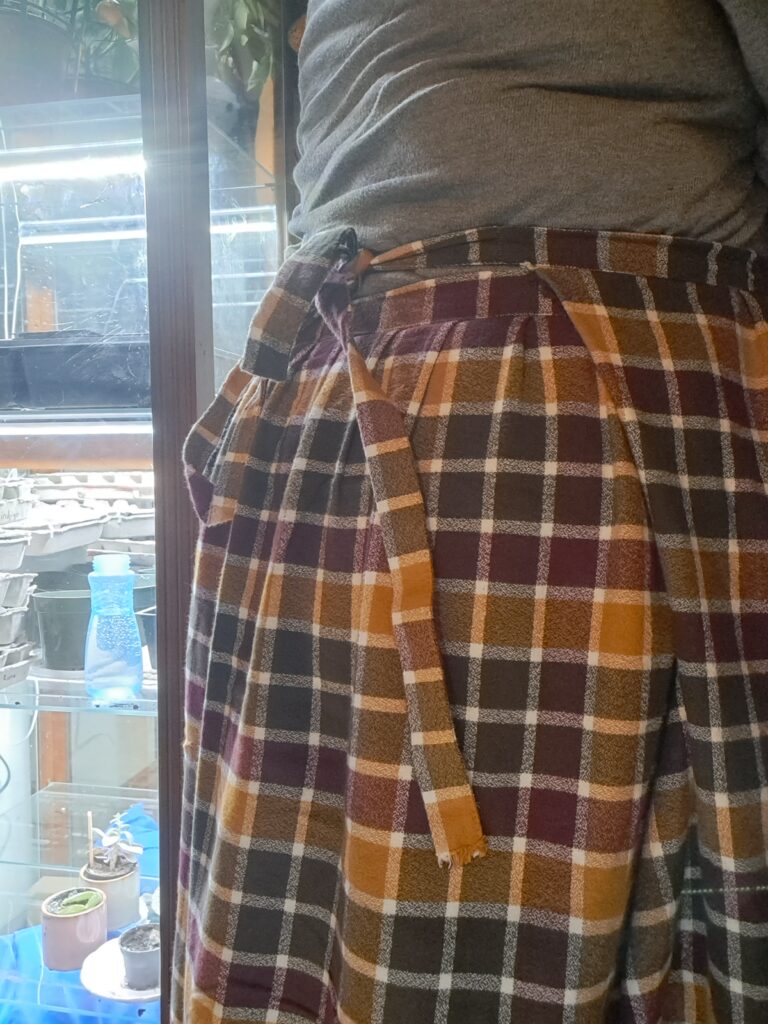
Start by tying the back panel on, with a bow in your front. (The thinner, twill tape ties.)
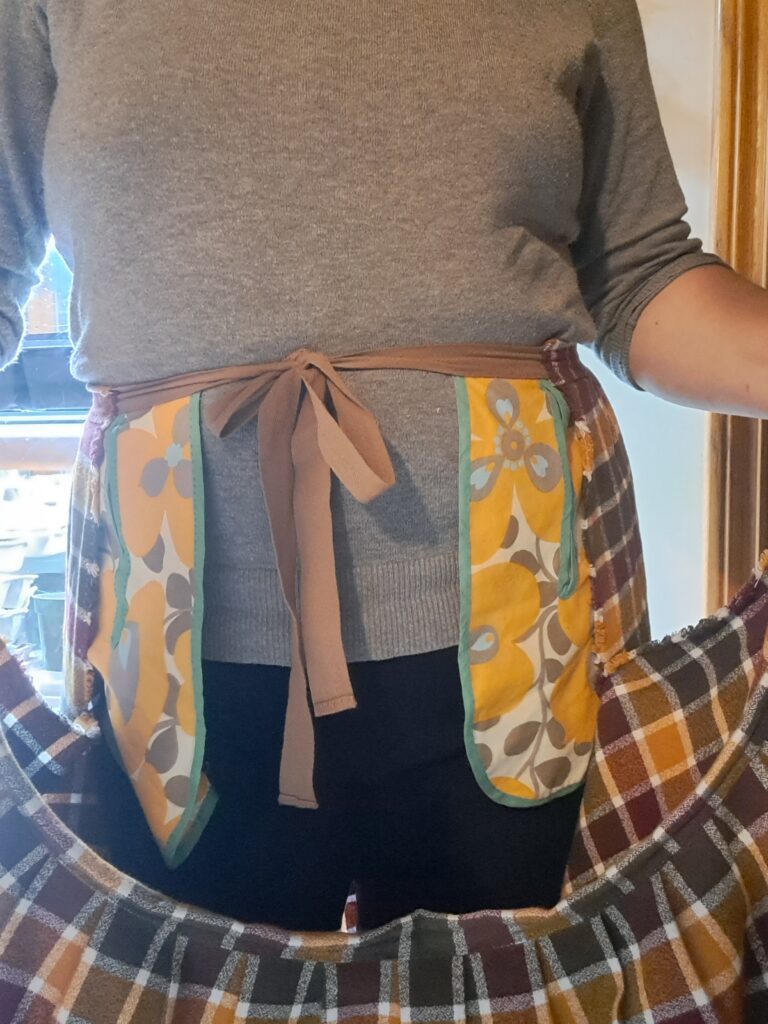
Next, lift up the front panel high enough to cover the bow you just made. Tie the main (decorative) ties in the back, just as if you were putting on an apron.
That’s it! Just the two steps. (The tie usually lies flat on the back waistband, but I missed and didn’t notice until I looked at the photos.)
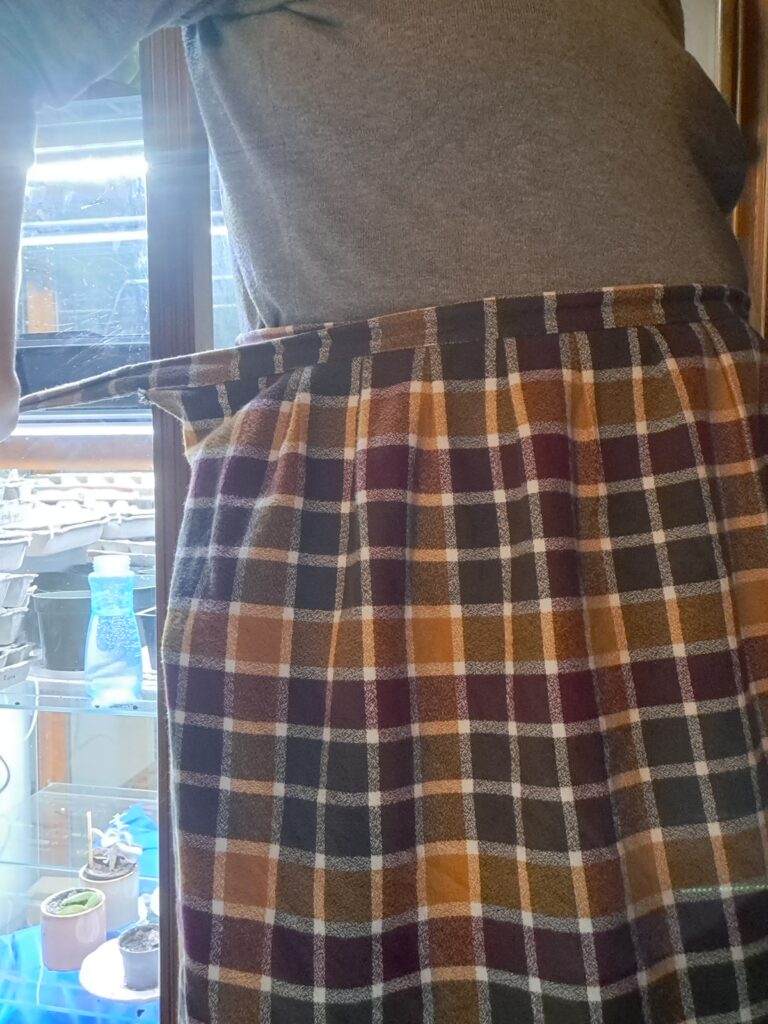
Voila! adjustable skirt with secret giant pockets. What more could you want?
Want more Hodgepodge Homesteading? Here’s where else you can find us!
On Instagram: @hodgepodgehomesteading
On Facebook: https://www.facebook.com/profile.php?id=100092368241618
On Pinterest: https://www.pinterest.ca/hodgepodgehomesteading/