It’s a tale as old as time… I find a sweater in the thrift store made with a beautiful, soft burgundy yarn. I check the label, it’s organic cotton. I hold it up to myself in front of a narrow mirror. It is a simple shape and looks like it should fit, but of course there is no dressing room. Spring approaches so it is on sale for only $3. I take a chance and bring it home. Try it on properly only to find that, alas… it makes me look like a potato.

No fairy tale could end that way, and no sweater could be left in such a sad state. I figured that there wasn’t ever going to be another chance to get that much good quality yarn at that low of a price, so my seam ripper and I sat down and set about deconstructing it.
If you would like to give this a try as well, I am going to start by giving some tips of what to look for in a sweater. The absolute most important thing to know is that there are two different ways that commercially produced sweaters are made. One method is to use knitting machines to knit individual pieces and them seam them together, like you would as a hand knitter. The other is to use a knitted fabric and then cut out pattern pieces, sewing and finishing the edges like any other stretch fabric. (Remember, the reason that your cotton t-shirt stretches is that very fine cotton threads are “knit” into fabric by a machine! It is entirely possible to scale this up to even a bulky sweater.) I am sure you can guess where this warning is going, but if you choose a “cut out” sweater to unravel, then you will end up with a giant pile of short little yarn strings. Depending on what you are planning to use your unraveled sweater for, or your patience joining yarn, this might not deter you, but most crafters would probably prefer to leave that sweater on the shelf.
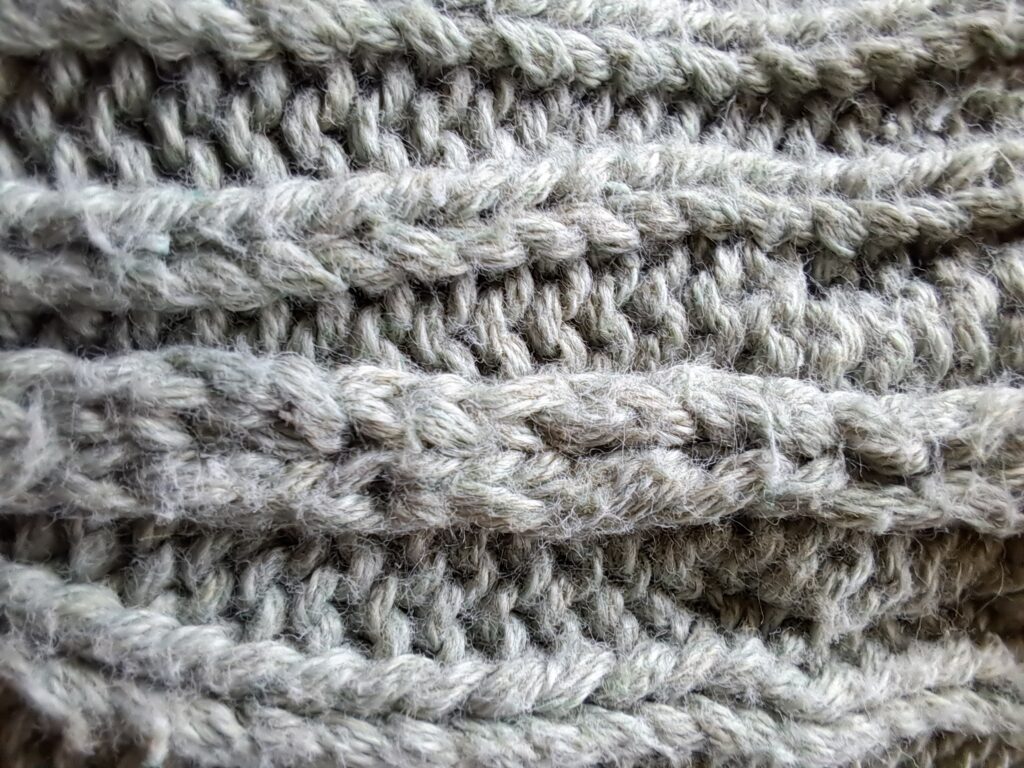
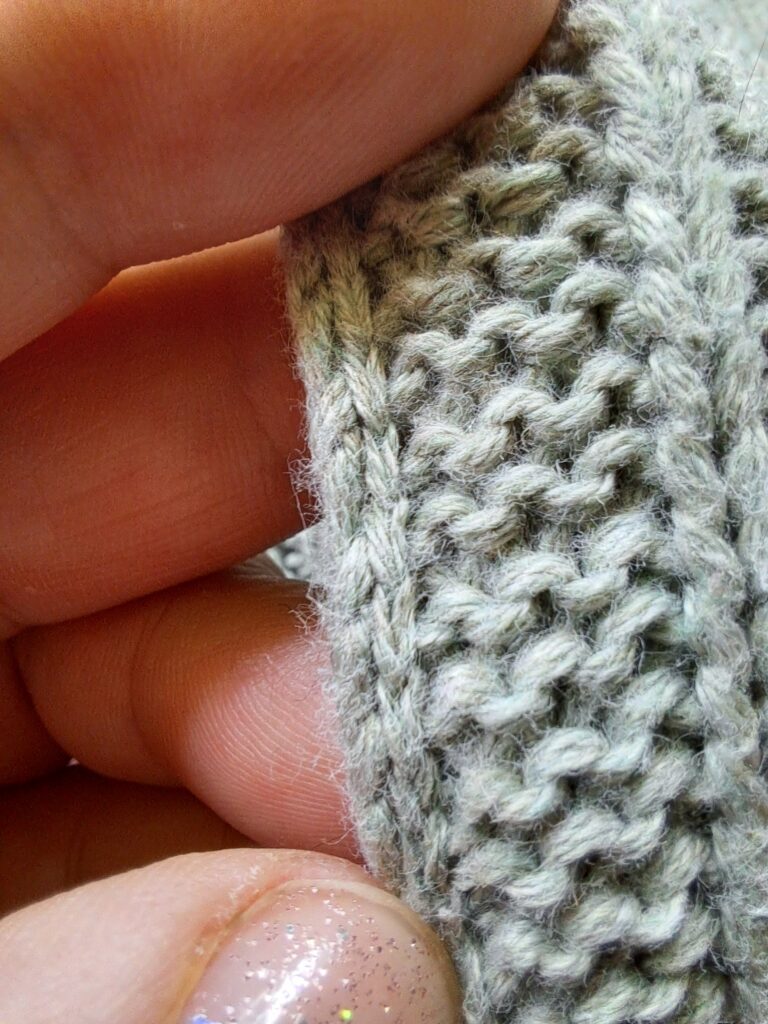
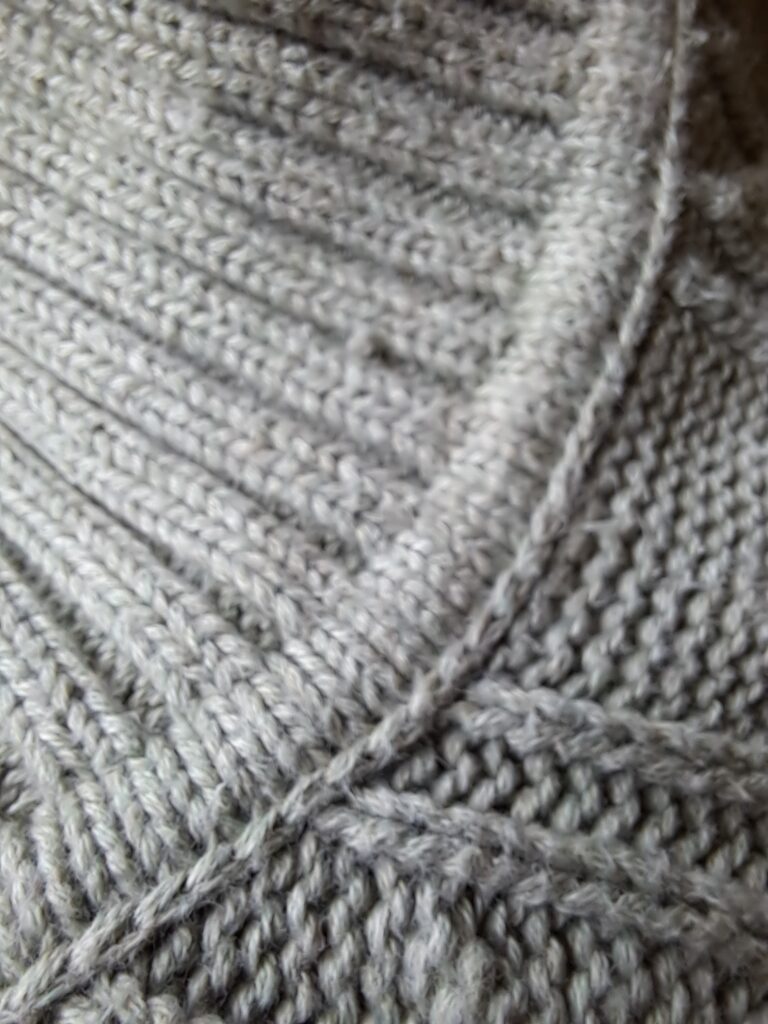
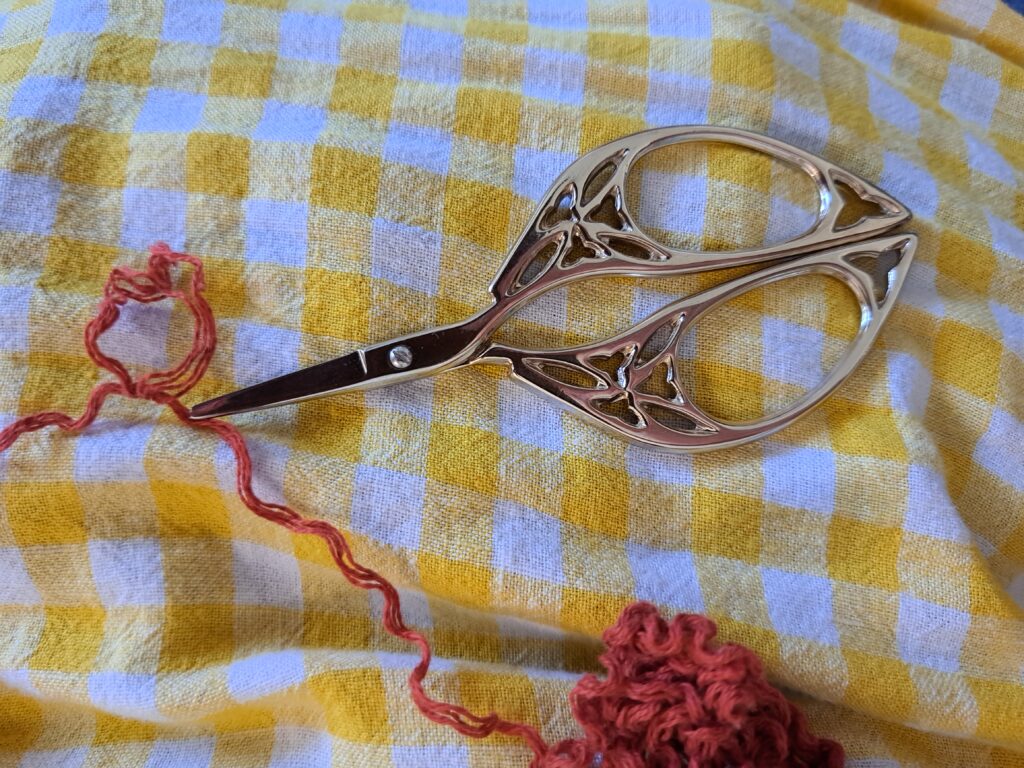
To tell how your sweater was constructed, simply look at the seams inside. If you can see two neatly finished edges with a line of stitching just below, you are in luck. (Example shown above.) If you get ones like this it is much easier to cut only the stitching and not the yarn you will unravel. Below I will show two different joining seams. The rows of tidy little v’s are the stitching holding the pieces together, and what you will take your seam ripper to. This is the only piece of equipment you need for this project. Embroidery scissors work too, but personally I find that I have a lot more accidents with them. Some sweaters will be sewn with thread. This can be good in that it is easier to tell apart from the yarn that you don’t want to cut, but it is obviously also much thinner and can be frustrating to find.
Hopefully you haven’t covered yourself in too much fluff while you took your pieces apart! If you are exceptionally frugal or environmentally conscious, you can save the inevitable small bits as stuffing. Just keep a small bag or jar in your project bag. This was the hard part, with the majority of the squinting and fiddly bits. Now you should be left with however many individual pieces your sweater was made up of. Cut or unravel the cast off at the top, and start to pull!
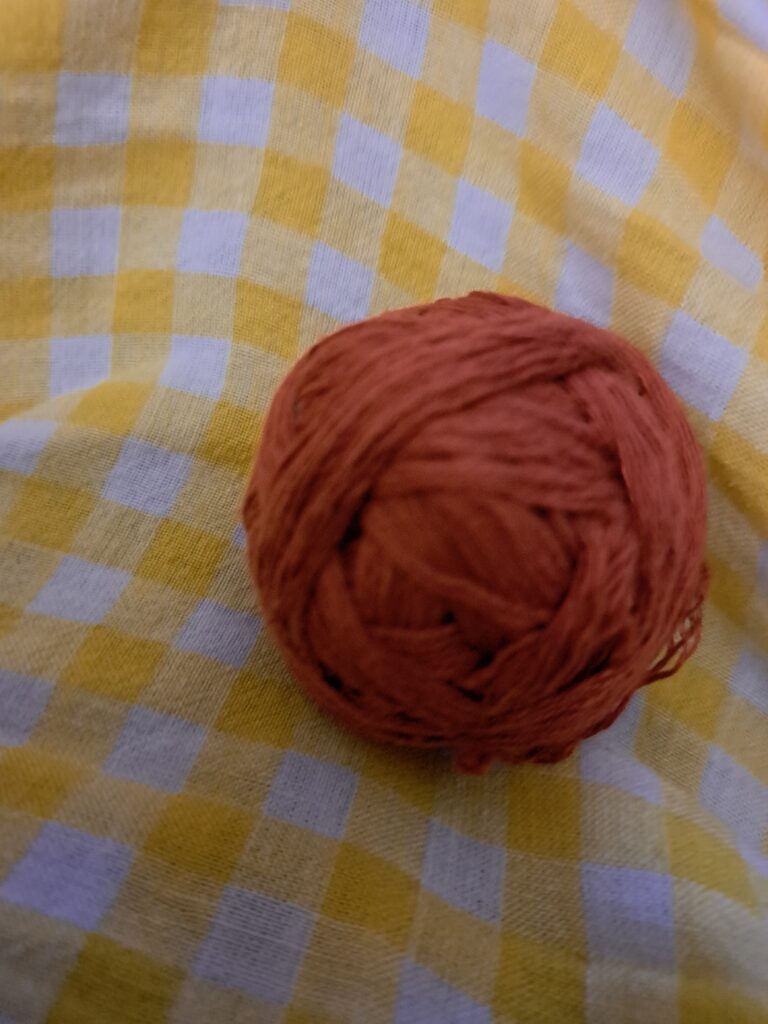
I would very much suggest winding it as you go, otherwise you will be left with an unholy mess. As you unwind, you will inevitably find some shorter bits of yarn. Some from your own accidental snips, some from the way it was made. (I find shoulders and the tops of sleeves to be particularly bad for this.) How you deal with this and your criteria for saving is up to you. Personally, anything shorter than two feet goes with the fluff. Anything longer than that but not big enough to wind into a real ball gets saved in another small bag to be delt with later. When I have finished unravelling the entire sweater and rolling all of the regular sized balls, I pull out the bag with the shorter pieces. I join them all together one at a time with a magic knot and wind as I go. I keep this ball in the separate small bag even when it is done and tuck that in with the rest of the yarn. This way, it is like having an emergency supply I can use if I run out of the rest of the yarn before the pattern is done, and if I end up not needing it it can be used for crochet bags or baskets.
Phew, that was a lot of work! Who would even bother doing that? As I mentioned before, it can be one of the cheapest ways to acquire yarn. It is environmentally friendly, since you are giving something a second life. Personally, one of my criteria for choosing sweaters at the thrift store is that they be styles that are unlikely to sell well, or weird proportions, so I may also be saving textiles from the landfill. I currently live somewhere with very good access to thrift stores, and a lot of choice, so don’t feel badly if this is not the case for you. Work with what you have and can afford. In fact, the absolute most frugal and eco friendly thing you could do would be to unravel an old sweater from your donation pile! Was it a fantastic colour but never fit quite the way you wanted? Here’s your chance!